When carrying out systematic trading strategy research one of the main steps is to optimise a collection of strategy parameters to maximise or minimise some objective function. A simple example would be optimising the lookback parameters of the 'fast' and 'slow' moving averages in a trend following system to maximise the strategy's historical Sharpe ratio.
Each variation of the parameters requires a completely separate, independent backtest to be carried out in order to generate performance statistics. For our open source QSTrader software specifically, this means running fully separate Python processes for each parameter variant.
These simulations either need to be carried out in serial, that is one after the other until the desired parameter combinations have been evaluated, or in parallel where a multi core CPU is utilised to run each separate Python process. This can significantly reduce the duration of the overall research experiment depending upon the number of cores available.
In this article we are going to describe the build of a cheap computer cluster that provides multi core parallelisation of QSTrader parameter sweeps. We will make use of a collection of cheap, low power Raspberry Pi computers and network them together to form a distributed cluster.
High Performance Computing Clusters
In institutional settings quantitative researchers often have access to large, high powered on-premise compute clusters where long-running backtest 'jobs' can be submitted for processing. These jobs often take advantage of multiple separate computers, each with multiple CPU cores to allow execution in parallel, which helps bring down the overall processing duration.
These clusters are typically shared across many users with diverse compute needs. In order to manage the resource allocations appropriately the clusters make use of work scheduling tools such as SLURM. The clusters fall under the banner of High Performance Computing (HPC) and are typically distributed, meaning that multiple computers are networked together to increase the nodes available to researchers.
For the lone quant trader or small quant trading research team such clusters are typically prohibitively expensive. A common alternative is to utilise high-end desktop workstations for research. This is a great solution if budgets allow. However they can also be very expensive and require a significant amount of power when running at full utilisation. However it is still possible for those quant traders on a budget to build and run their own compute cluster so they can get started with quant trading HPC research.
In this article series we are going to describe how to construct a small, low power distributed cluster for running parallel systematic trading experiments using our open source backtesting software QSTrader. This cluster will be built from multiple Raspberry Pi (RPi) 4B computers and will run SLURM for task scheduling. This will provide 4x4 (16) nodes, with a total of 16GB of distributed RAM (32GB if the 8GB RPi 4B version is used).
Advantages and Disadvantages of a Raspberry Pi Cluster
The cluster has a number of advantages over a single on-premise desktop machine, particularly for those quant traders without access to a dedicated office who need to integrate their systematic trading research into their home environment:
- Size - A four-RPi system takes up very little space and can be easily placed on a small desk or in a small cupboard.
- Noise - With the cluster enclosure utilised in this article there is very little noise generated, even at full utilisation.
- Low Power - A four-RPi system at full utilisation will draw approximately 25-40 Watts and far less while idling. Hence it is far cheaper to run over the long term.
- Expansion - It is straightforward to add more nodes as needed simply by 'extending upwards'. However, it will be necessary to have a large enough network switch and power capability to support all of the RPis.
- Scheduling - The SLURM workload manager allows compute resources to be pre-allocated, so that the cluster can be shared among researchers.
- Skills - For those seeking a quant developer career, building a distributed cluster teaches many transferable skills that are beneficial in insitutional environments.
- Fun - Building an RPi cluster is an interesting and rewarding project, and opens the door to building more advanced distributed systems.
The cluster also presents some disadvantages:
- Architecture - RPi 4Bs contain a quad-core ARM-based 64-bit Cortex-A72 CPU. This means it does not utilise the more common x86_64 architecture. For the most part this is not an issue but certain software such as Docker images pre-built on x86_64 architectures will not work.
- Compute - For the same cost it is likely that a budget desktop system will outperform the CPU capability of the cluster. However it will almost certainly have significantly less cores than the cluster presented here, which may be an issue in certain cases.
Ultimately the choice of building the RPi cluster versus a desktop workstation or cloud system will depend heavily on a number of factors including your budget, work location and need to schedule across multiple users.
Build Overview
Building and configuring the Raspberry Pi cluster is relatively straightforward but there is a lot of ground to cover to get it all working. Hence we have split up the articles to cover specific aspects of the build:
- Purchasing the Hardware and Building the Cluster (this article)
- Setting up the Raspberry Pis with Ubuntu 22.04 (here)
- Installing and Configuring SLURM on the Raspberry Pi cluster (here)
- Installing Python and QSTrader for SLURM (here)
- Running a Parameter Sweep on a Momentum Strategy for QSTrader (here)
Let's now discuss the hardware utilised for the build.
Raspberry Pi Cluster Hardware
Our own build utilised four Raspberry Pi 4B (4GB) models to provide a total of 16GB of distributed RAM. These RPis each need a MicroSD card to act as the initial storage mechanism. We went with 32GB disks. For longer term, more reliable storage we also utilised a 128GB USB drive, which is shared across the cluster as network storage. Since our cluster is acting primarily as a backtest execution environment, and the asset data is stored separately in a securities master database, 128GB is more than sufficient for the JSON output produced by QSTrader.
For networking each RPi 4B has a gigabit ethernet port as well as WiFi capability. We decided to utilise ethernet for our build and obtained a cheap 8-port gigabit network switch to connect the cluster together. We also obtained four RJ45 CAT6 ethernet cables to connect the switch to the RPis. Note that it will still be necessary to have a separate router with DHCP capability (or the ability to assign static IPs) so that the RPis all receive an IP address. For use in a typical home this functionality can be found on the ISP-supplied router.
In terms of power we obtained a USB charger with six ports, capable of delivering 60W. This requires four micro USB cables. An alternative way to power the RPis is to use Power-over-Ethernet (PoE). This requires a PoE-based network switch as well as PoE 'hats' that attach to the RPis. This eliminates the power bar and excess cabling, but does significantly increase the expense of the build. We opted for the cheaper, simpler option for this build.
Finally it is necessary to enclose the RPis in a case. We utilised a budget acrylic case that provides fans and heatsinks for the RPis, as well as easy access to all ports.
The full list of products used within the build as well as USD and GBP costs on Amazon at the time of writing the article is listed below:
| Item | Quantity | Cost (USD) | Total Cost (USD) | Cost (GBP) | Total Cost (GBP) | Amazon |
|---|---|---|---|---|---|---|
| Raspberry Pi Model 4B 4GB RAM | 4 | $99.00 | $396.00 | £64.98 | £259.92 | US/UK |
| 32GB SanDisk ExtremePro MicroSD Card | 4 | $13.37 | $53.48 | £10.98 | £43.92 | US/UK |
| 128GB SanDisk Ultra Flair USB Drive | 1 | $15.49 | $15.49 | £16.99 | £16.99 | US/UK |
| Netgear GS308E 8-Port Gigabit Switch | 1 | $32.44 | $32.44 | £32.00 | £32.00 | US/UK |
| Amazon Basics RJ45 CAT6 Gigabit Ethernet LAN Cable* | 4 | $7.99 | $31.96 | £4.80 | £19.20 | US/UK |
| Anker PowerPort 60W USB Charger** | 1 | $26.99 | $26.99 | £35.99 | £35.99 | US/UK |
| 5x MicroUSB Cable (10"/25cm) | 1 | $7.99 | $7.99 | £7.99 | £7.99 | US/UK |
| GeeekPi/MakerFun Pi Rack Case | 1 | $25.00 | $25.00 | £20.99 | £20.99 | US/UK |
*: In the US we were unable to find the equivalent product on Amazon.com, so we have suggested an alternative ethernet cable.
**: In the US we were unable to find the equivalent product on Amazon.com, so we have suggested an alternative 60W USB charger by Sabrent.
The total cost of the build at the time of writing in USD is $589.35 (excluding shipping). In GBP the total cost is £437.00.
Assembling the Raspberry Pi Cluster
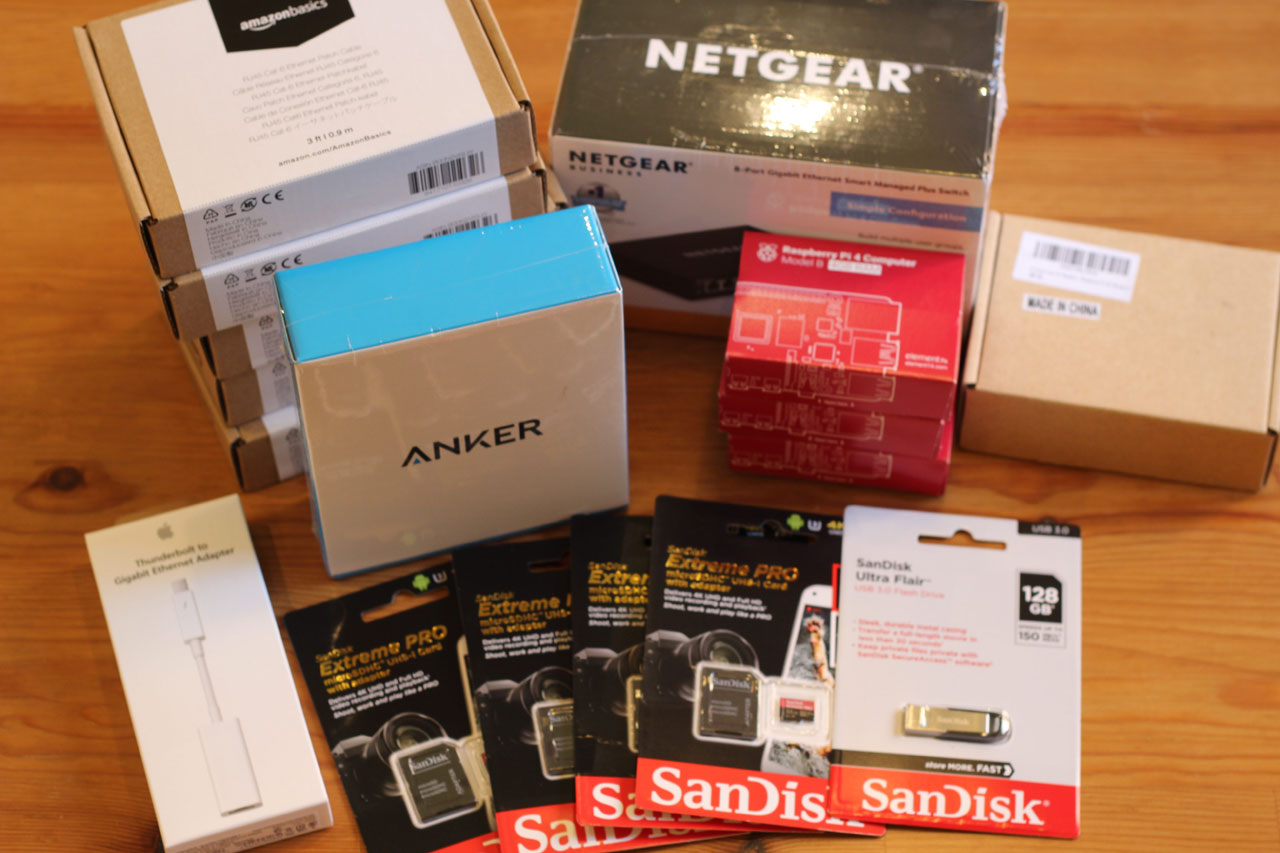
In Figure 1 we see all of the boxed components of the build. In particular we have the Netgear switch, the box for the RPi enclosure, the Anker power bar, the five CAT6 ethernet cables, the SanDisk MicroSD cards and the SanDisk USB flash drive. In addition we purchased an Apple thunderbolt to gigabit ethernet adaptor to fit a MacBook Air, which was used to allow the MacBook to connect to the network switch and configure the RPis. Finally, note that there are only three RPi boxes in Figure 1. When carrying out the build it was necessary to order a fourth RPi from a different vendor and this arrived separately.
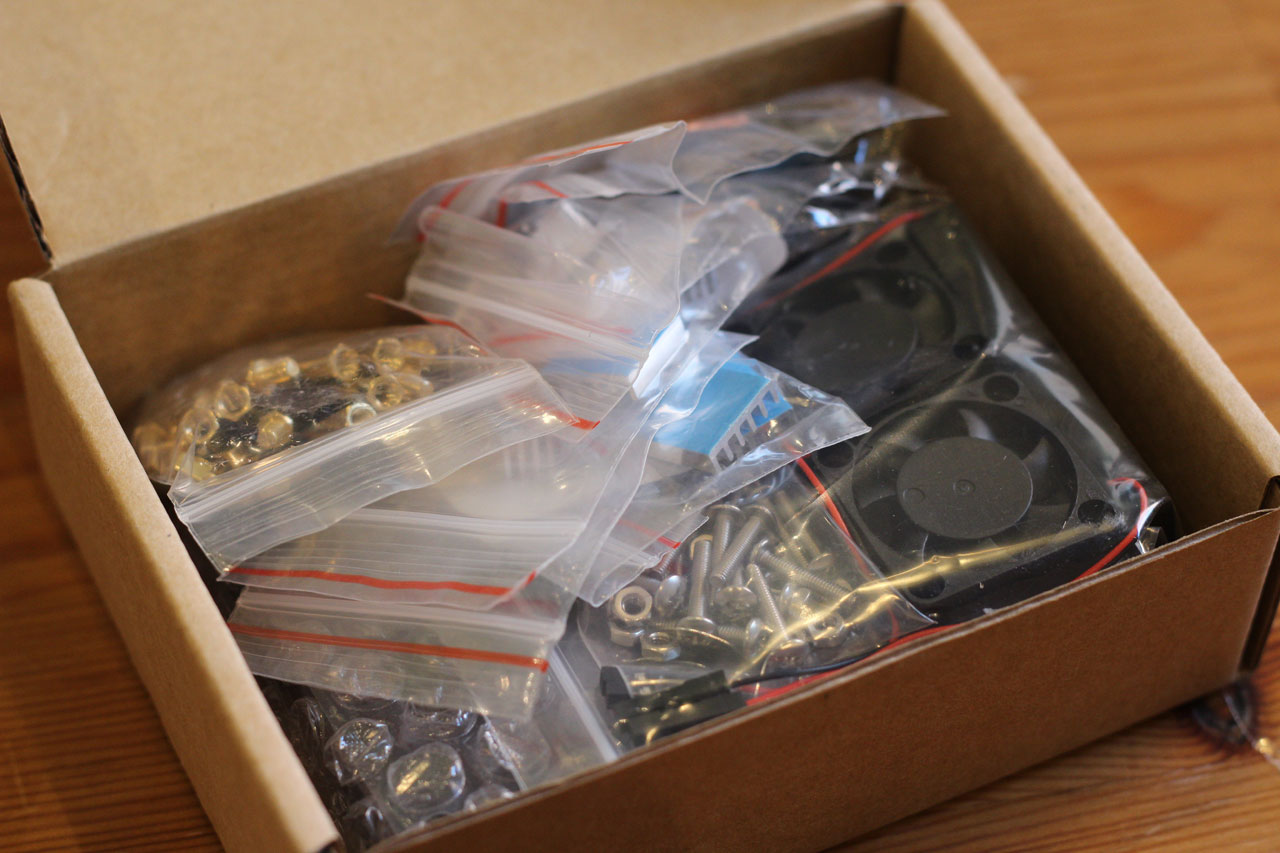
The first step is to begin unboxing the components. Figure 2 shows the unboxing of the Raspberry Pi enclosure, including fans, screws/hex nuts, stand-offs and heatsinks.
For the base layer of the enclosure it is necessary to use four deep stand-offs, four shallow stand-offs and four screws to hold the stand-offs to the acrylic base layer. The set of components can be seen in Figure 3.
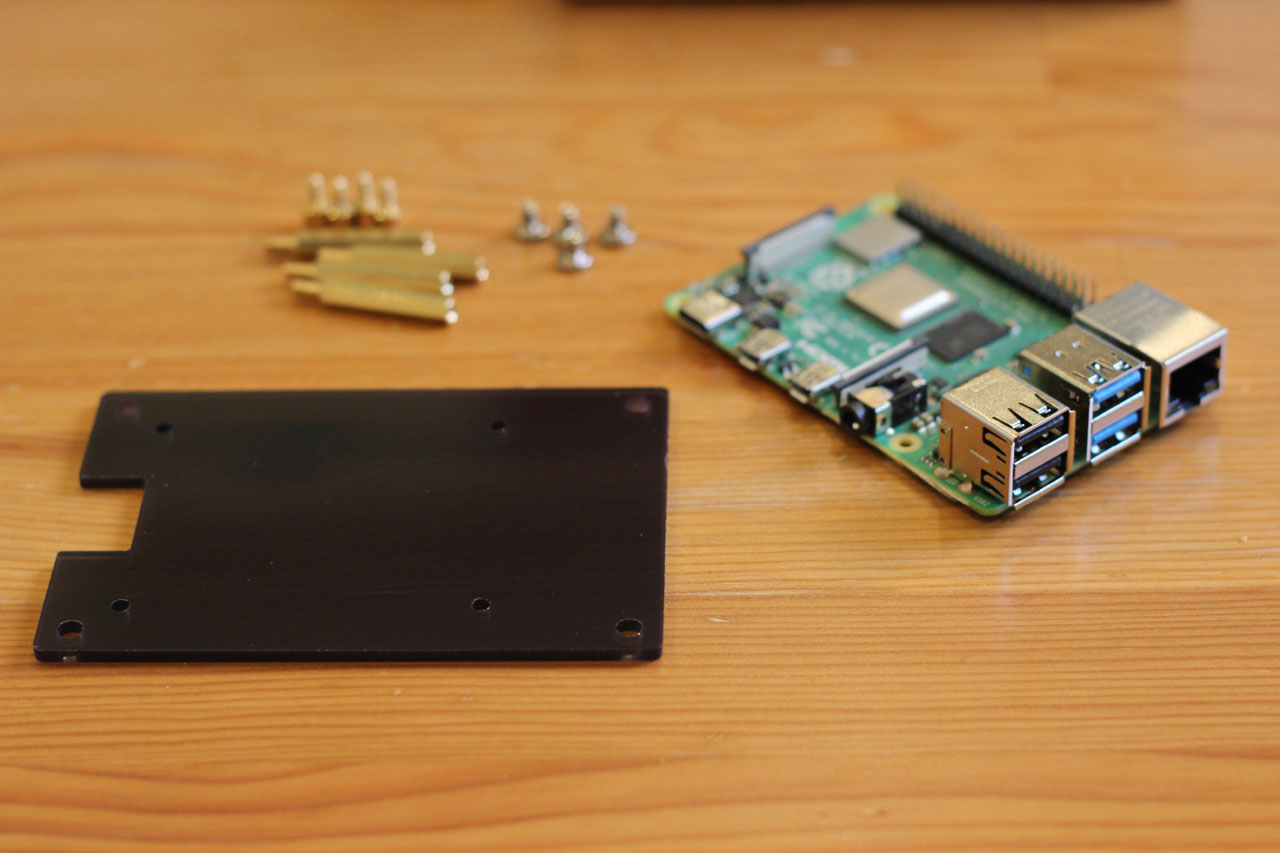
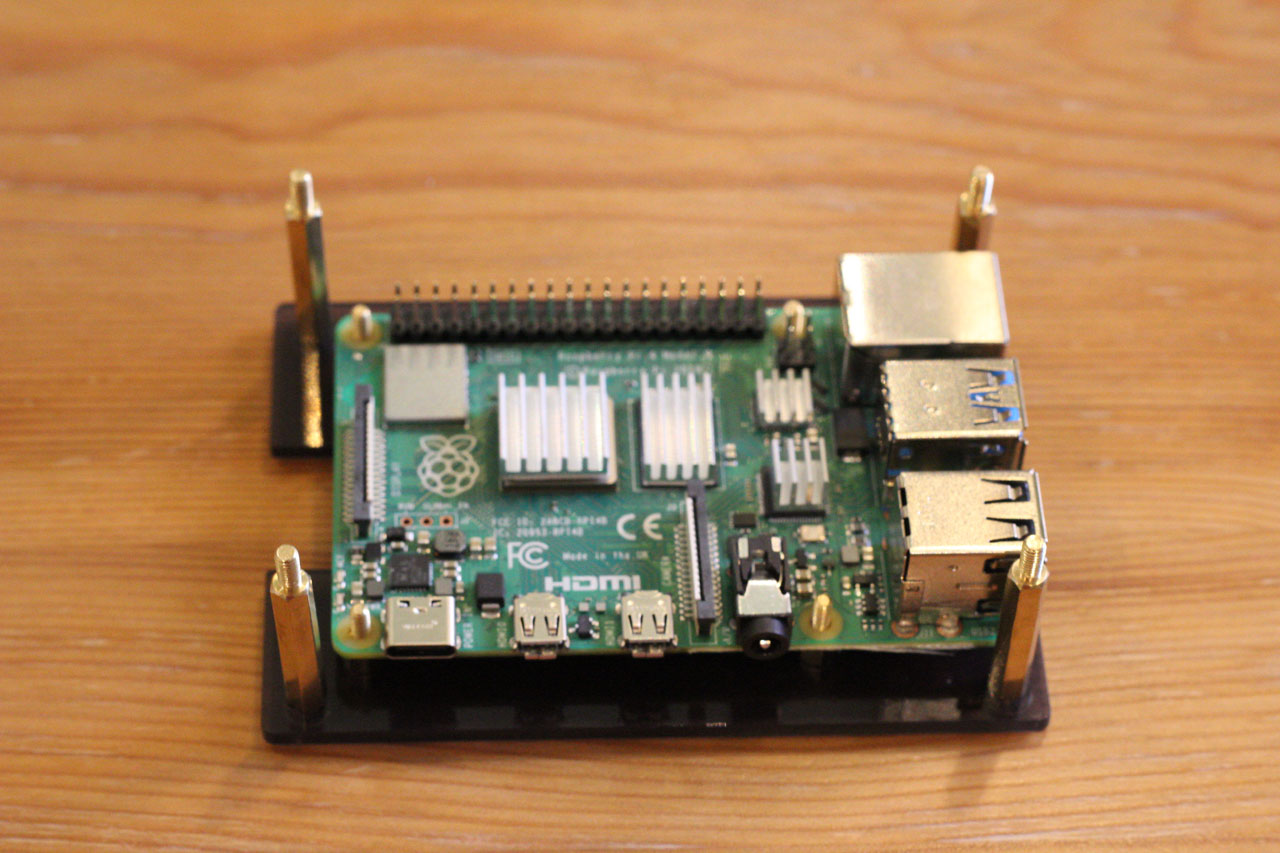
Figure 4 shows the deep stand-offs at the corners of the base layer. In addition the shallow stand-offs have been installed and the Raspberry Pi now rests on top. The heatsinks for the RPi chips have not been applied yet.
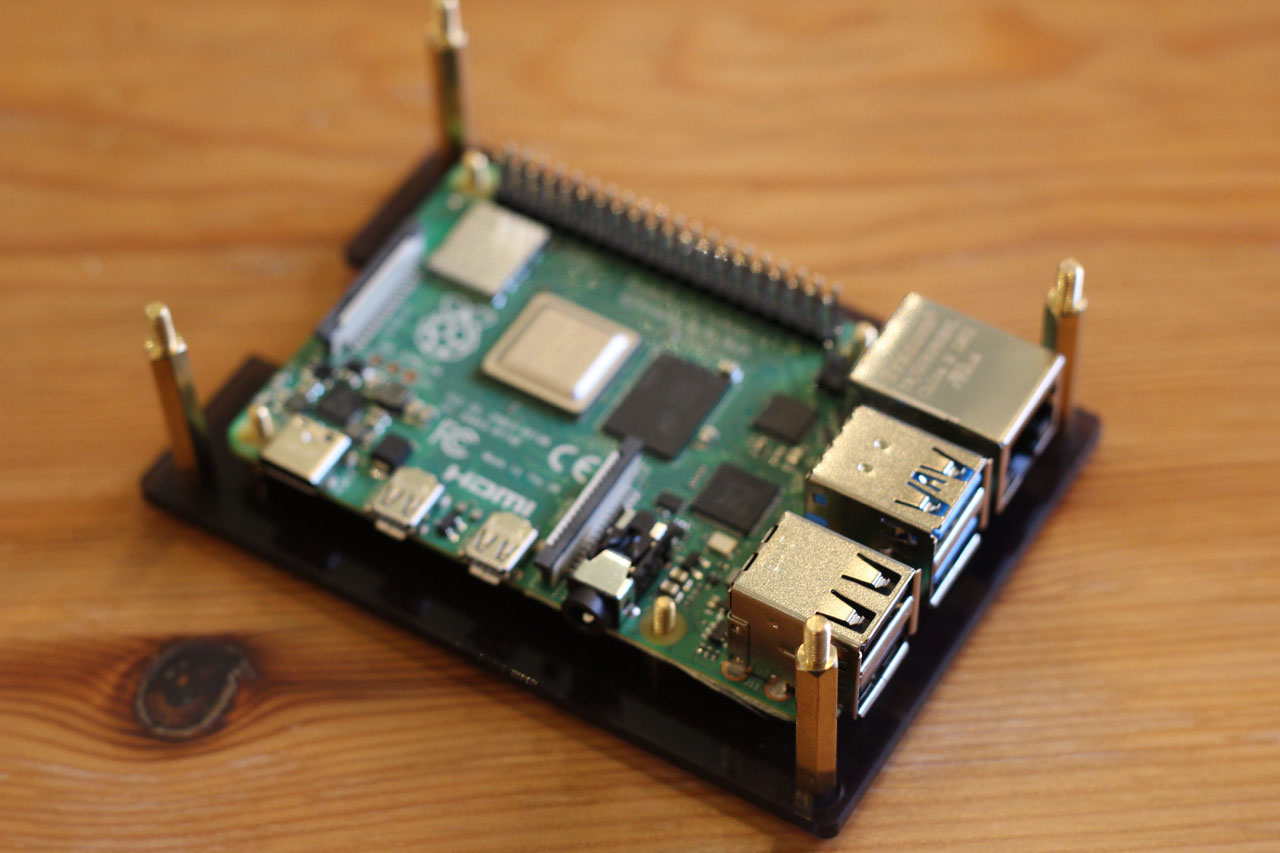
Figure 5 shows the first Raspberry Pi with the heatsinks applied on four of the chips. These heatsinks are provided as components within the Raspberry Pi enclosure.
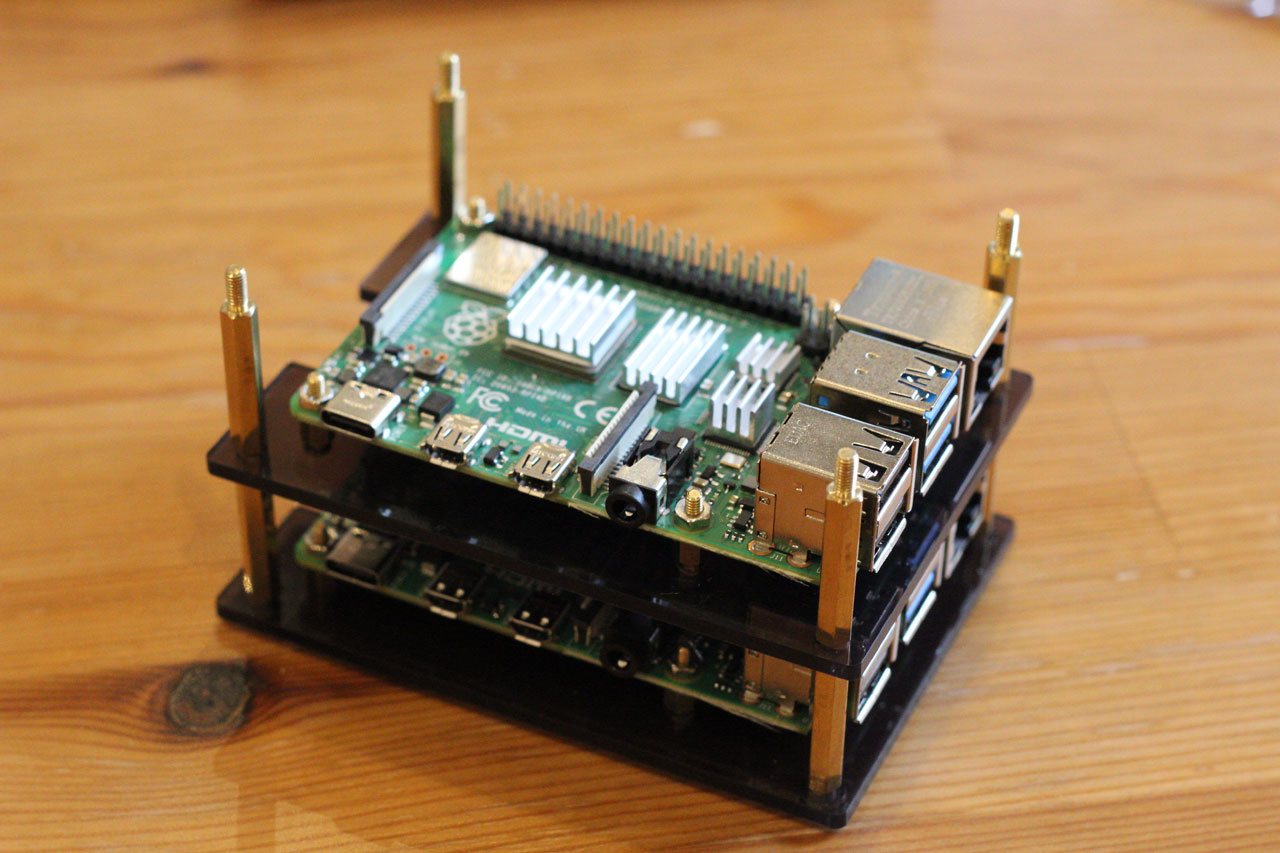
The next stage is slightly trickier as it requires installation of the fan for the first Raspberry Pi. This needs to be attached to the correct GPIO ports, as well as the second acrylic layer, as per the enclosure instructions. The next step is to place the second Raspberry Pi onto the second acrylic layer via additional shallow stand-offs. Finally the deep stand-offs are attached to the heads of the original four stand-offs from the first layer. See Figure 6.
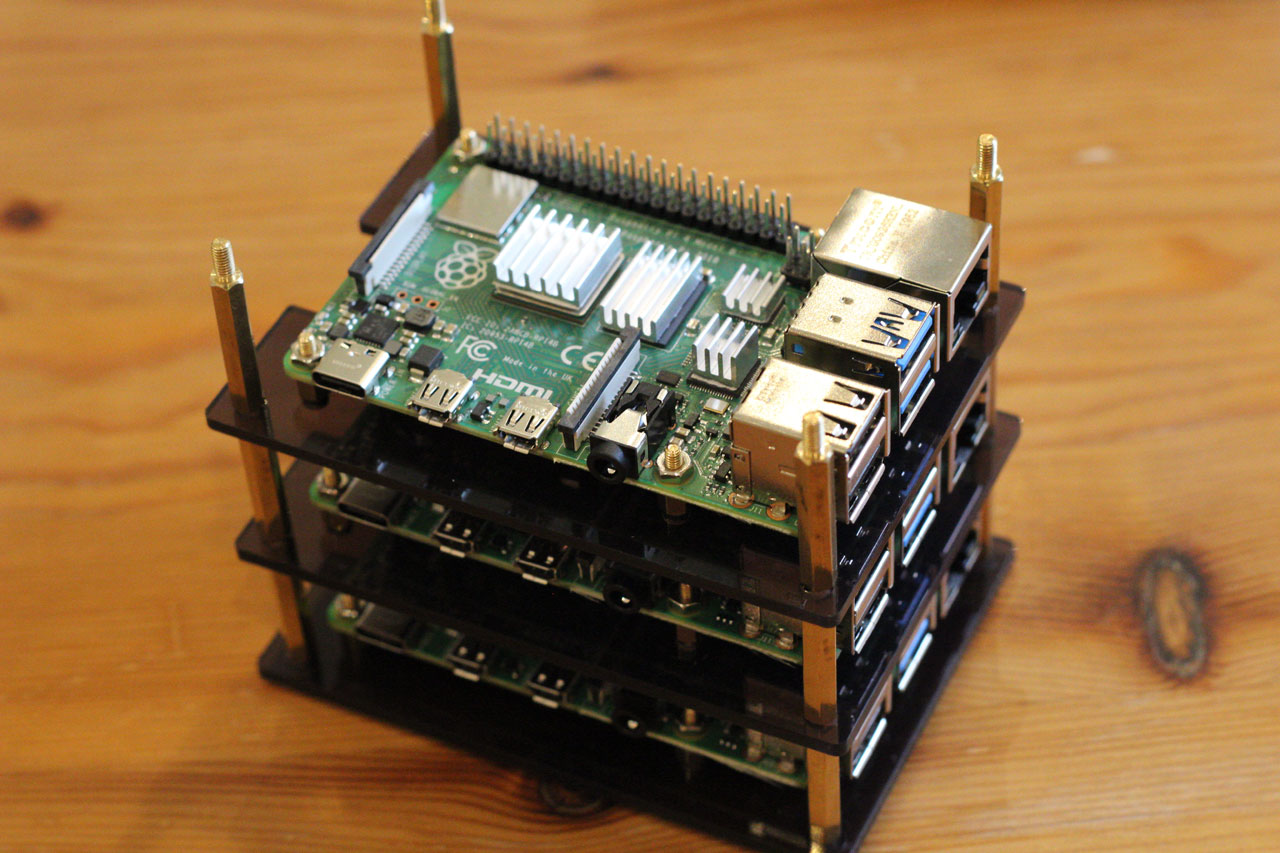
The process can now be repeated for the third layer. Remember to place the heatsinks on the Raspberry Pi chips and attach the fan to the correct GPIO port. See Figure 7.
The final layer is slightly different since there are no additional stand-offs to use. Instead a set of four end cap screws are utilised to top-off the deep stand-offs from the third layer. The fourth Rasperry Pi is installed as before. This time however the fan receives a guard on top of the acrylic. See Figure 8.
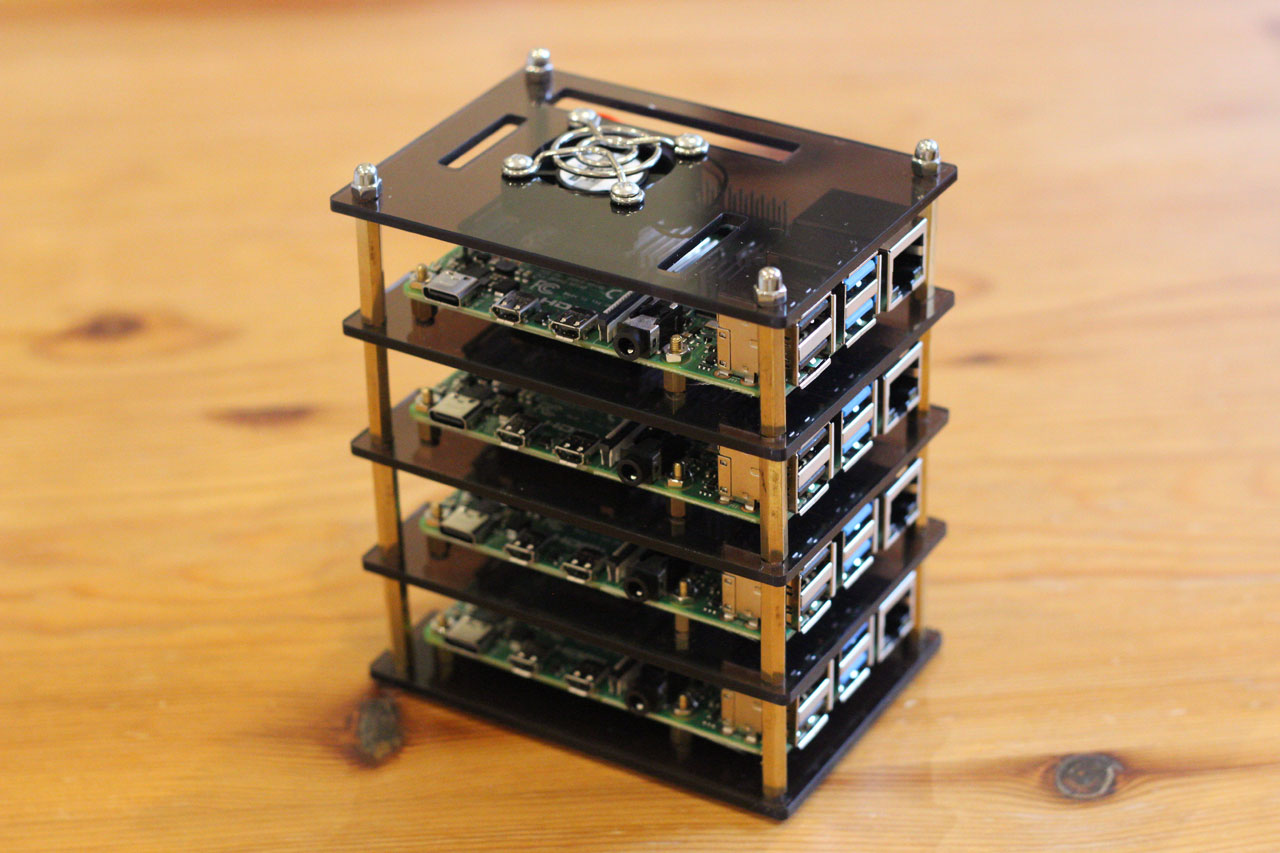
This completes the build of the Raspberry Pi enclosure. Note that it has a very small footprint for a 16-core, 16GB distributed cluster computer!
In the next article (coming soon) we are going to begin configuring the Pis to use Ubuntu 20.04 and connect them via the network switch.


